As you can see, this is my very first recipe post. YAY! I'm really excited about it, lol. Anyways, I've been looking for Fried chicken recipes that are similar to KFC or Popeyes. I love chicken, fried and crispy. I finally came around a caribbean inspired recipe but I tweaked it a little bit and at this weekend I was craving caribbean spices, badly. I hope you enjoy!
What you'll need..
For seasoning the chicken:
5-6 LBS chicken pieces (I used legs and thighs)
4 teaspoon peppersauce (hot sauce – use as much as you can tolerate)
1/2 teaspoon black pepper
1 teaspoon ginger (powder or as I did – fresh grated)
2 teaspoon green seasoning (see notes below if you don’t have green seasoning)
1 lime / lemon or 3 tablespoons of vinegar to wash the chicken pieces before seasoning.
3 1/2 teaspoon salt
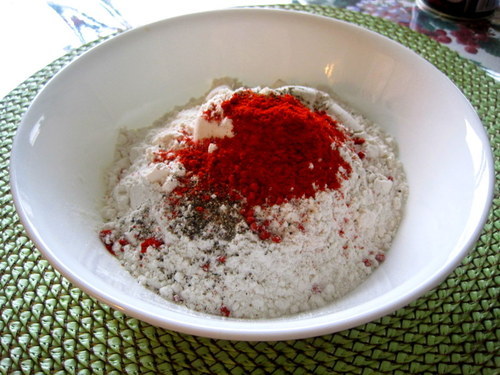
For the dusting:
1-2 cups all purpose flour
1 teaspoon paprika
1/4 teaspoon black pepper
Oil for frying (I shallow fried, I used about 2-3 cups of vegetable oil.)
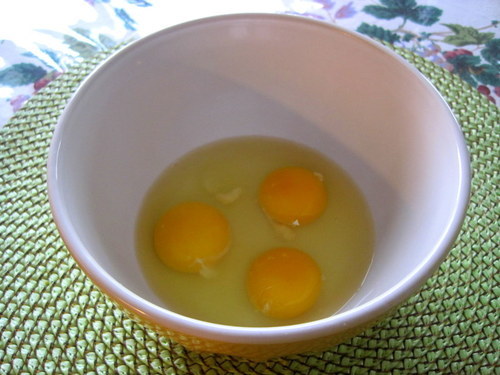
3 large eggs
**NOTE: Green Seasoning is one of those spice mixtures that is unique to the Caribbean and differs slightly from island to island. It is used in a huge number of Trinidadian dishes and in Trinidad, it's distinguished by the use of shado beni (Mexican cilantro).
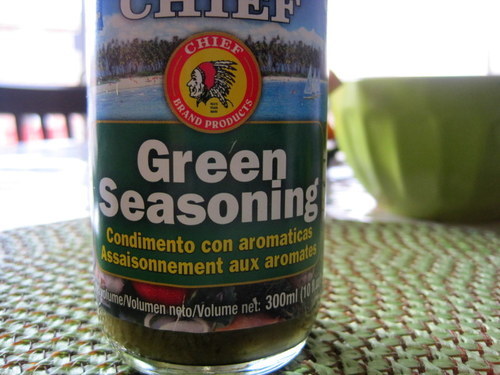
I used a bottled Green seasoning from the Trinidad brand, Chief. You can find Green seasoning in Carribean specialty stores. I easily found mine in Ocean's Fresh Food Market store here in Brampton, Ontario.

Start off by trimming the fat and excess skin. Then I poured the lime or lemon juice over it. Rinse with water and dry with paper towel. Then off to our seasoning. In a large bowl, use the ingredients mentioned above to season the chicken. Make sure to stir well, cover and allow to marinate in the fridge for 2 hours at least. For best results, marinate overnight.
In a heavy pan, heat the oil on medium to high heat. (In this case, I used a large pot since me and my 12 yr. old brother broke the pan last week making Swiss Rösti, lol.)
1. Crack the eggs into a bowl and whisk. Then dip chicken in egg mixture. Try to get the entire chicken coated.
2. Combine the flour, paprika and black pepper in a separate bown and mix well.
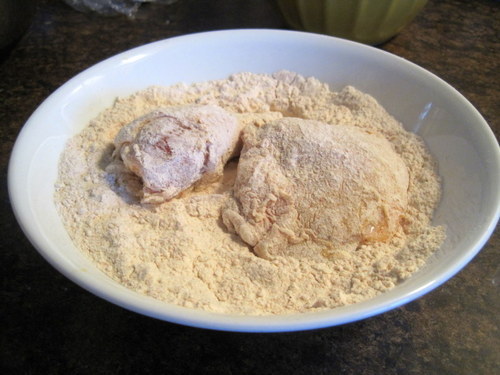
3. Dust the pieces of chicken into the flour mixture. Be sure to cover all pieces and shake off any excess flour before placing into the hot oil.
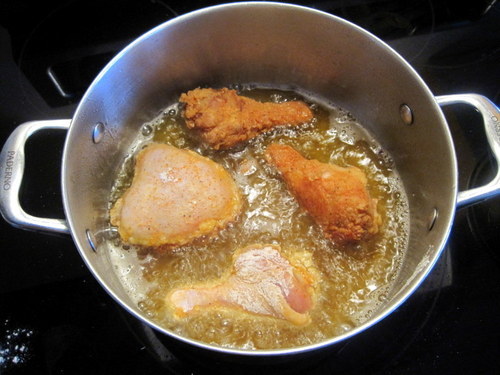
I fried 4 pieces at a time because I didn’t want to crowd the pan.. pot in my case. Crowding the pan will reduce in the oil’s temperature, resulting soggy chicken. Depending on the size of chicken pieces, the cooking time will vary between 15 and 20 minutes. In my case it took about 17 minutes and I flipped each piece every 4-5 minutes, since I was shallow frying. If you find that the outside of the chicken is browning too fast, it’s an indication that your oil may be too hot. Adjust accordingly.
Now, remember you`re working with hot oil. Always be careful! Have a wire tray or a plate lined with paper towel ready for the cooked pieces to help drain excess oil. Continue doing this in batches. Let the chicken rest for a couple of minutes before serving.
Give this a try and I guarantee you`ll be amazed how tasty it is. My family and boyfriend were all my guinea pigs and they all loved it! It was a boost of confidence to see all that was left in their plates were bones and hearing complaints of having "itis". I was very pleased with myself!
I'd really appreciate if you leave a comment! thank you.